
BOOT:
Note: This is a continuation of Building a new (old) PC – Part 1
This process brought back a lot of memories. Not all of them were good. I was expecting some warm and fuzzies. The “Getting Ready to Start Windows for the First Time!” kind of warm and fuzzies. What I got were lots of cuts on my hands, a few hours worth of research, incompatibilities, hardware failures…and the satisfaction of a job well done.
I built the board/CPU/RAM and video on my test bench first. To begin, I inserted the processor into the slot, tightening the retaining screws. Then came RAM (it was exactly like modern RAM). Finally, I plugged in the RIVA TNT and hooked up power and keyboard/mouse. A quick short of the jumpers and everything came alive. So far, so good?
Nope.
For whatever reason, the system didn’t like the PS/2 keyboard I had plugged in. It didn’t throw a keyboard error, but I couldn’t use it to get into the BIOS. It wouldn’t even light up. I tried another and I had the same results. I finally switched to a USB keyboard (thankfully the 440BX has USB ports) and had no further issues. The mouse worked fine in the PS/2 port, so I guess it’s probably just a bad keyboard port.
In the BIOS, everything looked good. It threw some errors about not finding the floppy drive (it wasn’t plugged in yet) and that the date/time was off. This was due to a bad CMOS battery. Thankfully, it was just a standard button cell, so when I powered it back down, I replaced that. Time to plug everything else in!
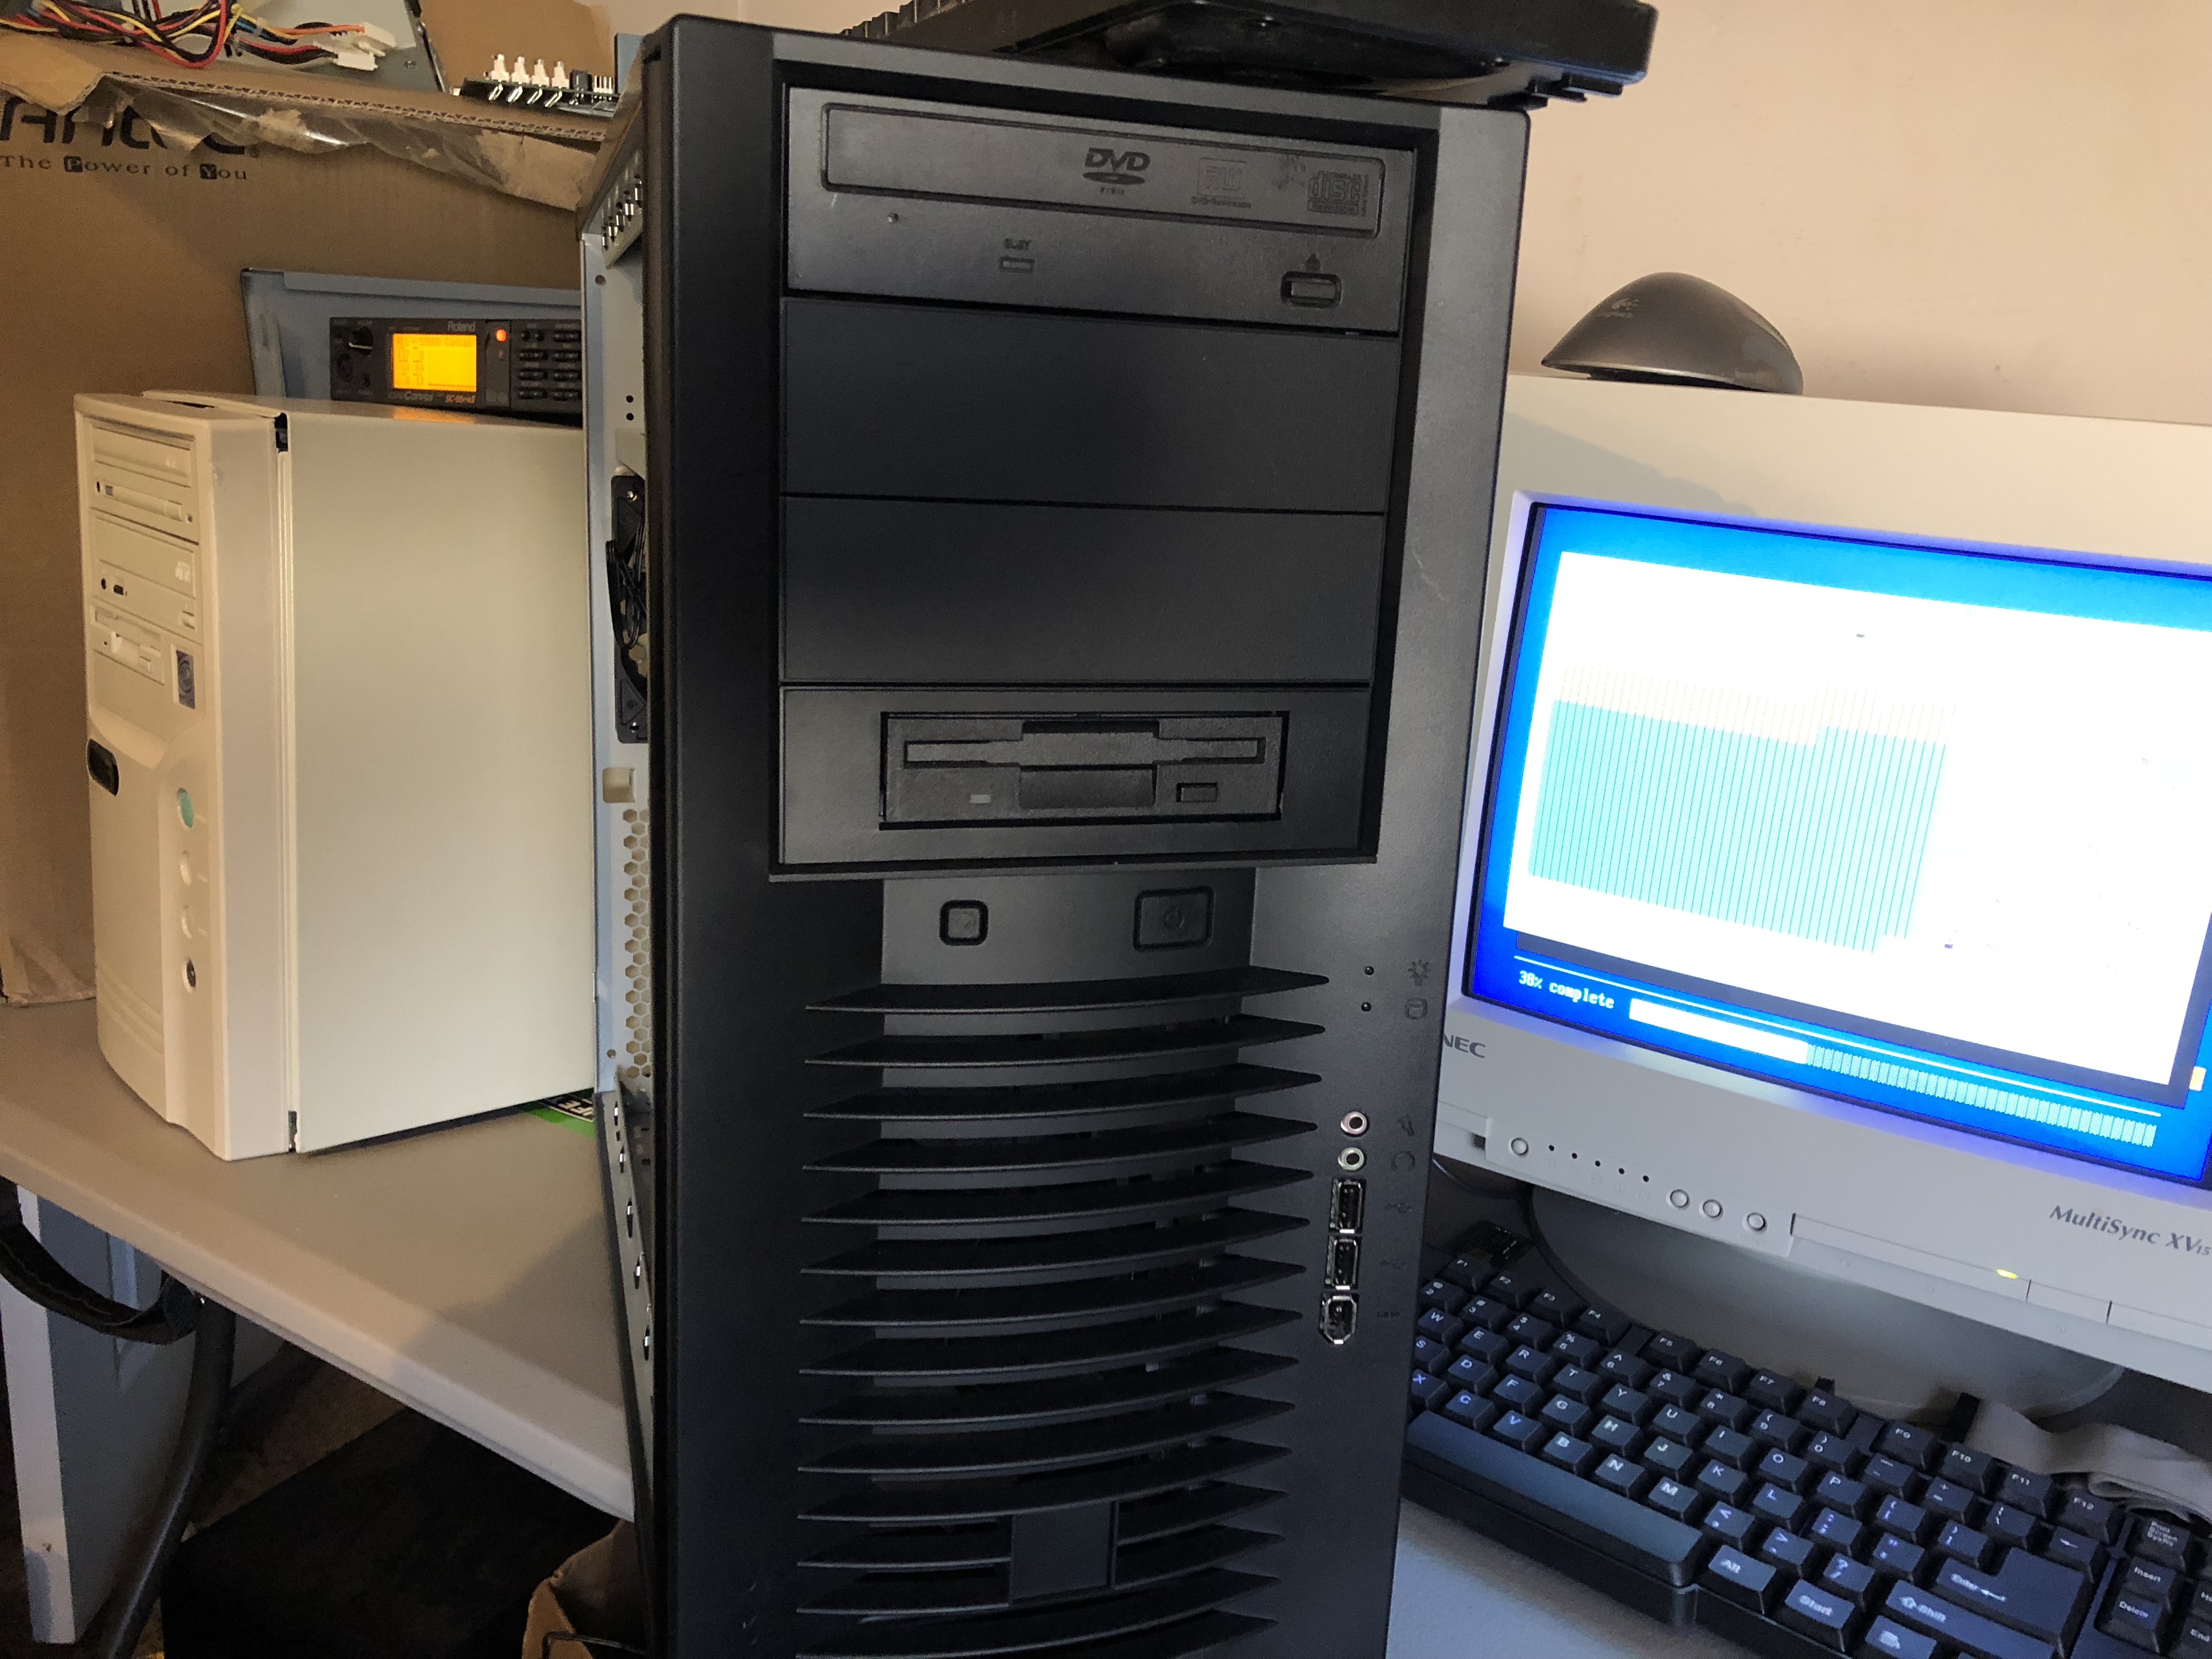
A Mess of Cables
As you can see in the photos at the top, it’s a bit of a rat’s nest of cables. Some of that is hard to correct. IDE cables are flat ribbons, which make cable organization a pain. Towards the end of the life of IDE, various vendors made rounded cables that improved this. Unfortunately, I didn’t have any of those on hand.
After I got the board mounted, I started plugging in cards. From the bottom, it’s the Adaptec 2940 SCSI card, then a 10/100 LAN card, the Audigy 2, and finally the video card.
“Wait, what?! Why is that video card in the AGP slot? I thought you said you were using a PCI RIVA TNT?!”
I did say that, ersatz blog commentator. We’ll get to the “why” in a little bit. And stop interrupting me.
With all the cards plugged in, it was time to slide in the drives and get those hooked up. This is where the aforementioned cuts on my hands started to happen. This case is intended to be a server case, so far as I know, and to call it no-frills is an understatement. While it does have drive rails, they’re kind of a pain in the neck to work with. Still, after about 15 minutes of messing around with them, a few choice curse words and one round of medicating ointment, the drives were in.
I should note that at this point, I had to take everything back apart again so I could put in the power supply. You might notice that rail along the top of the case. Well, that rail prevented me from sliding in the power supply while everything was in the case. More curse words, more ointment, more time.
{exhale}
Alright, so now everything was in the case and plugged in. Time to boot.
Software
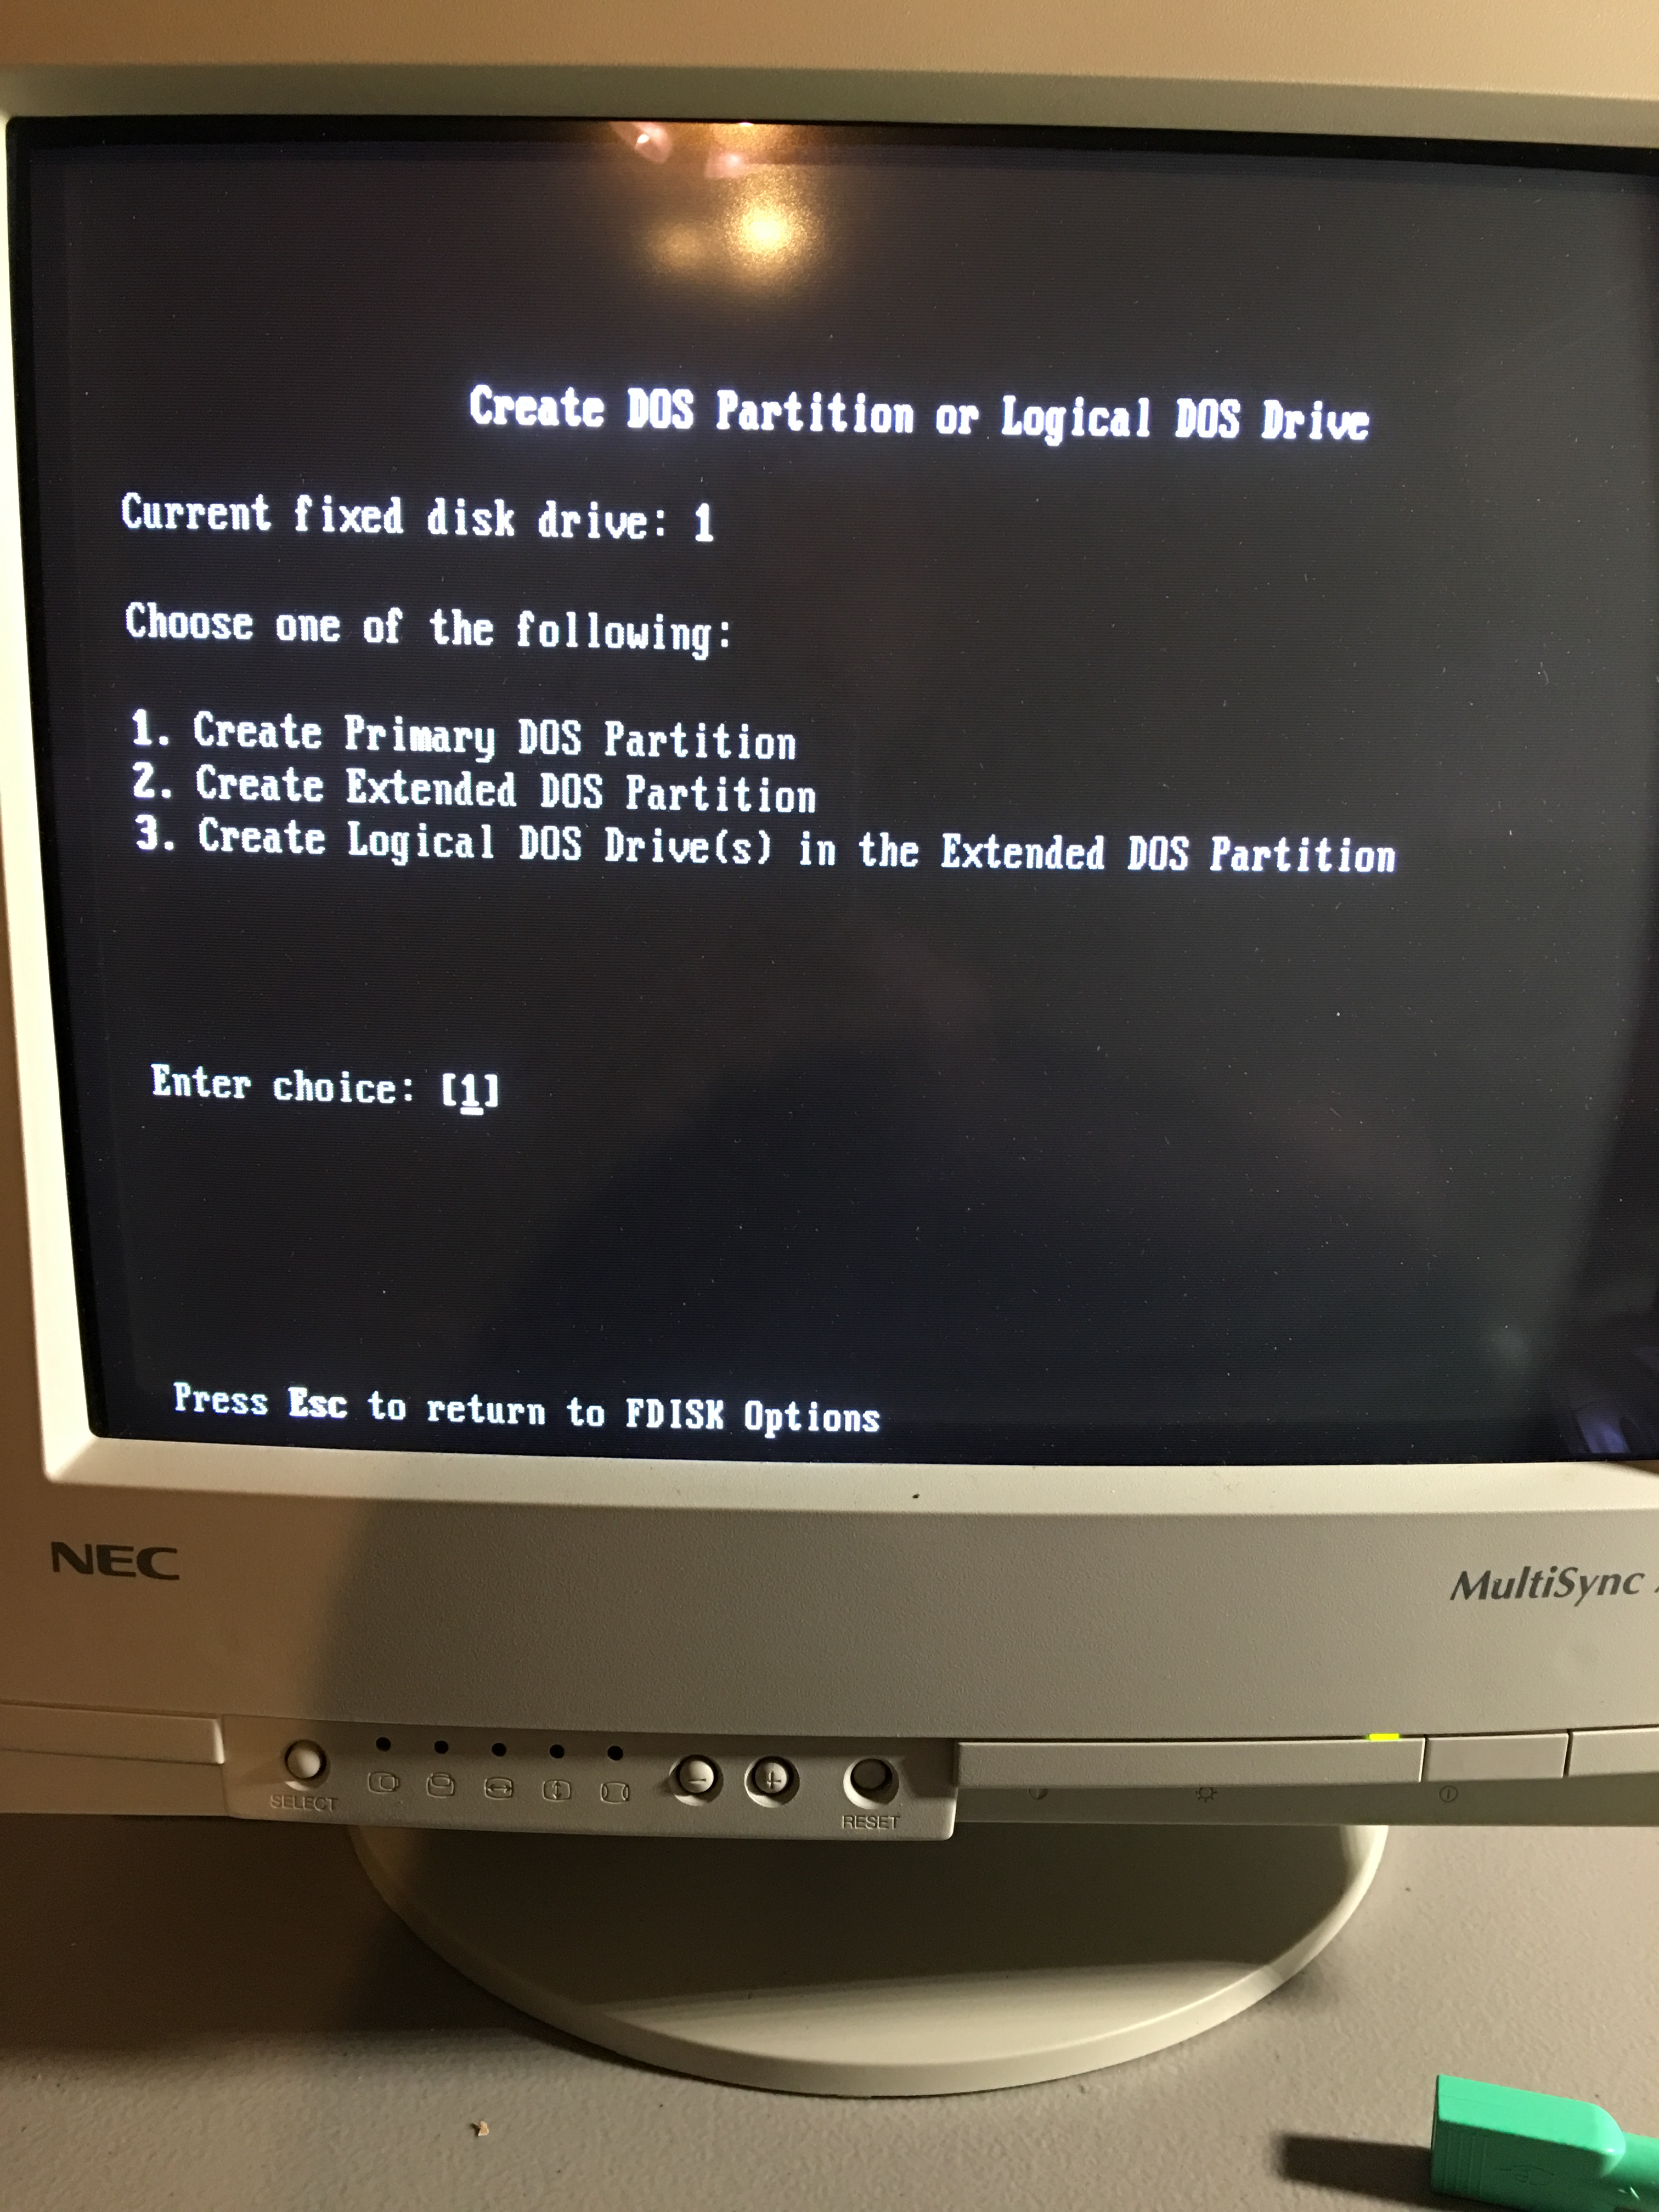
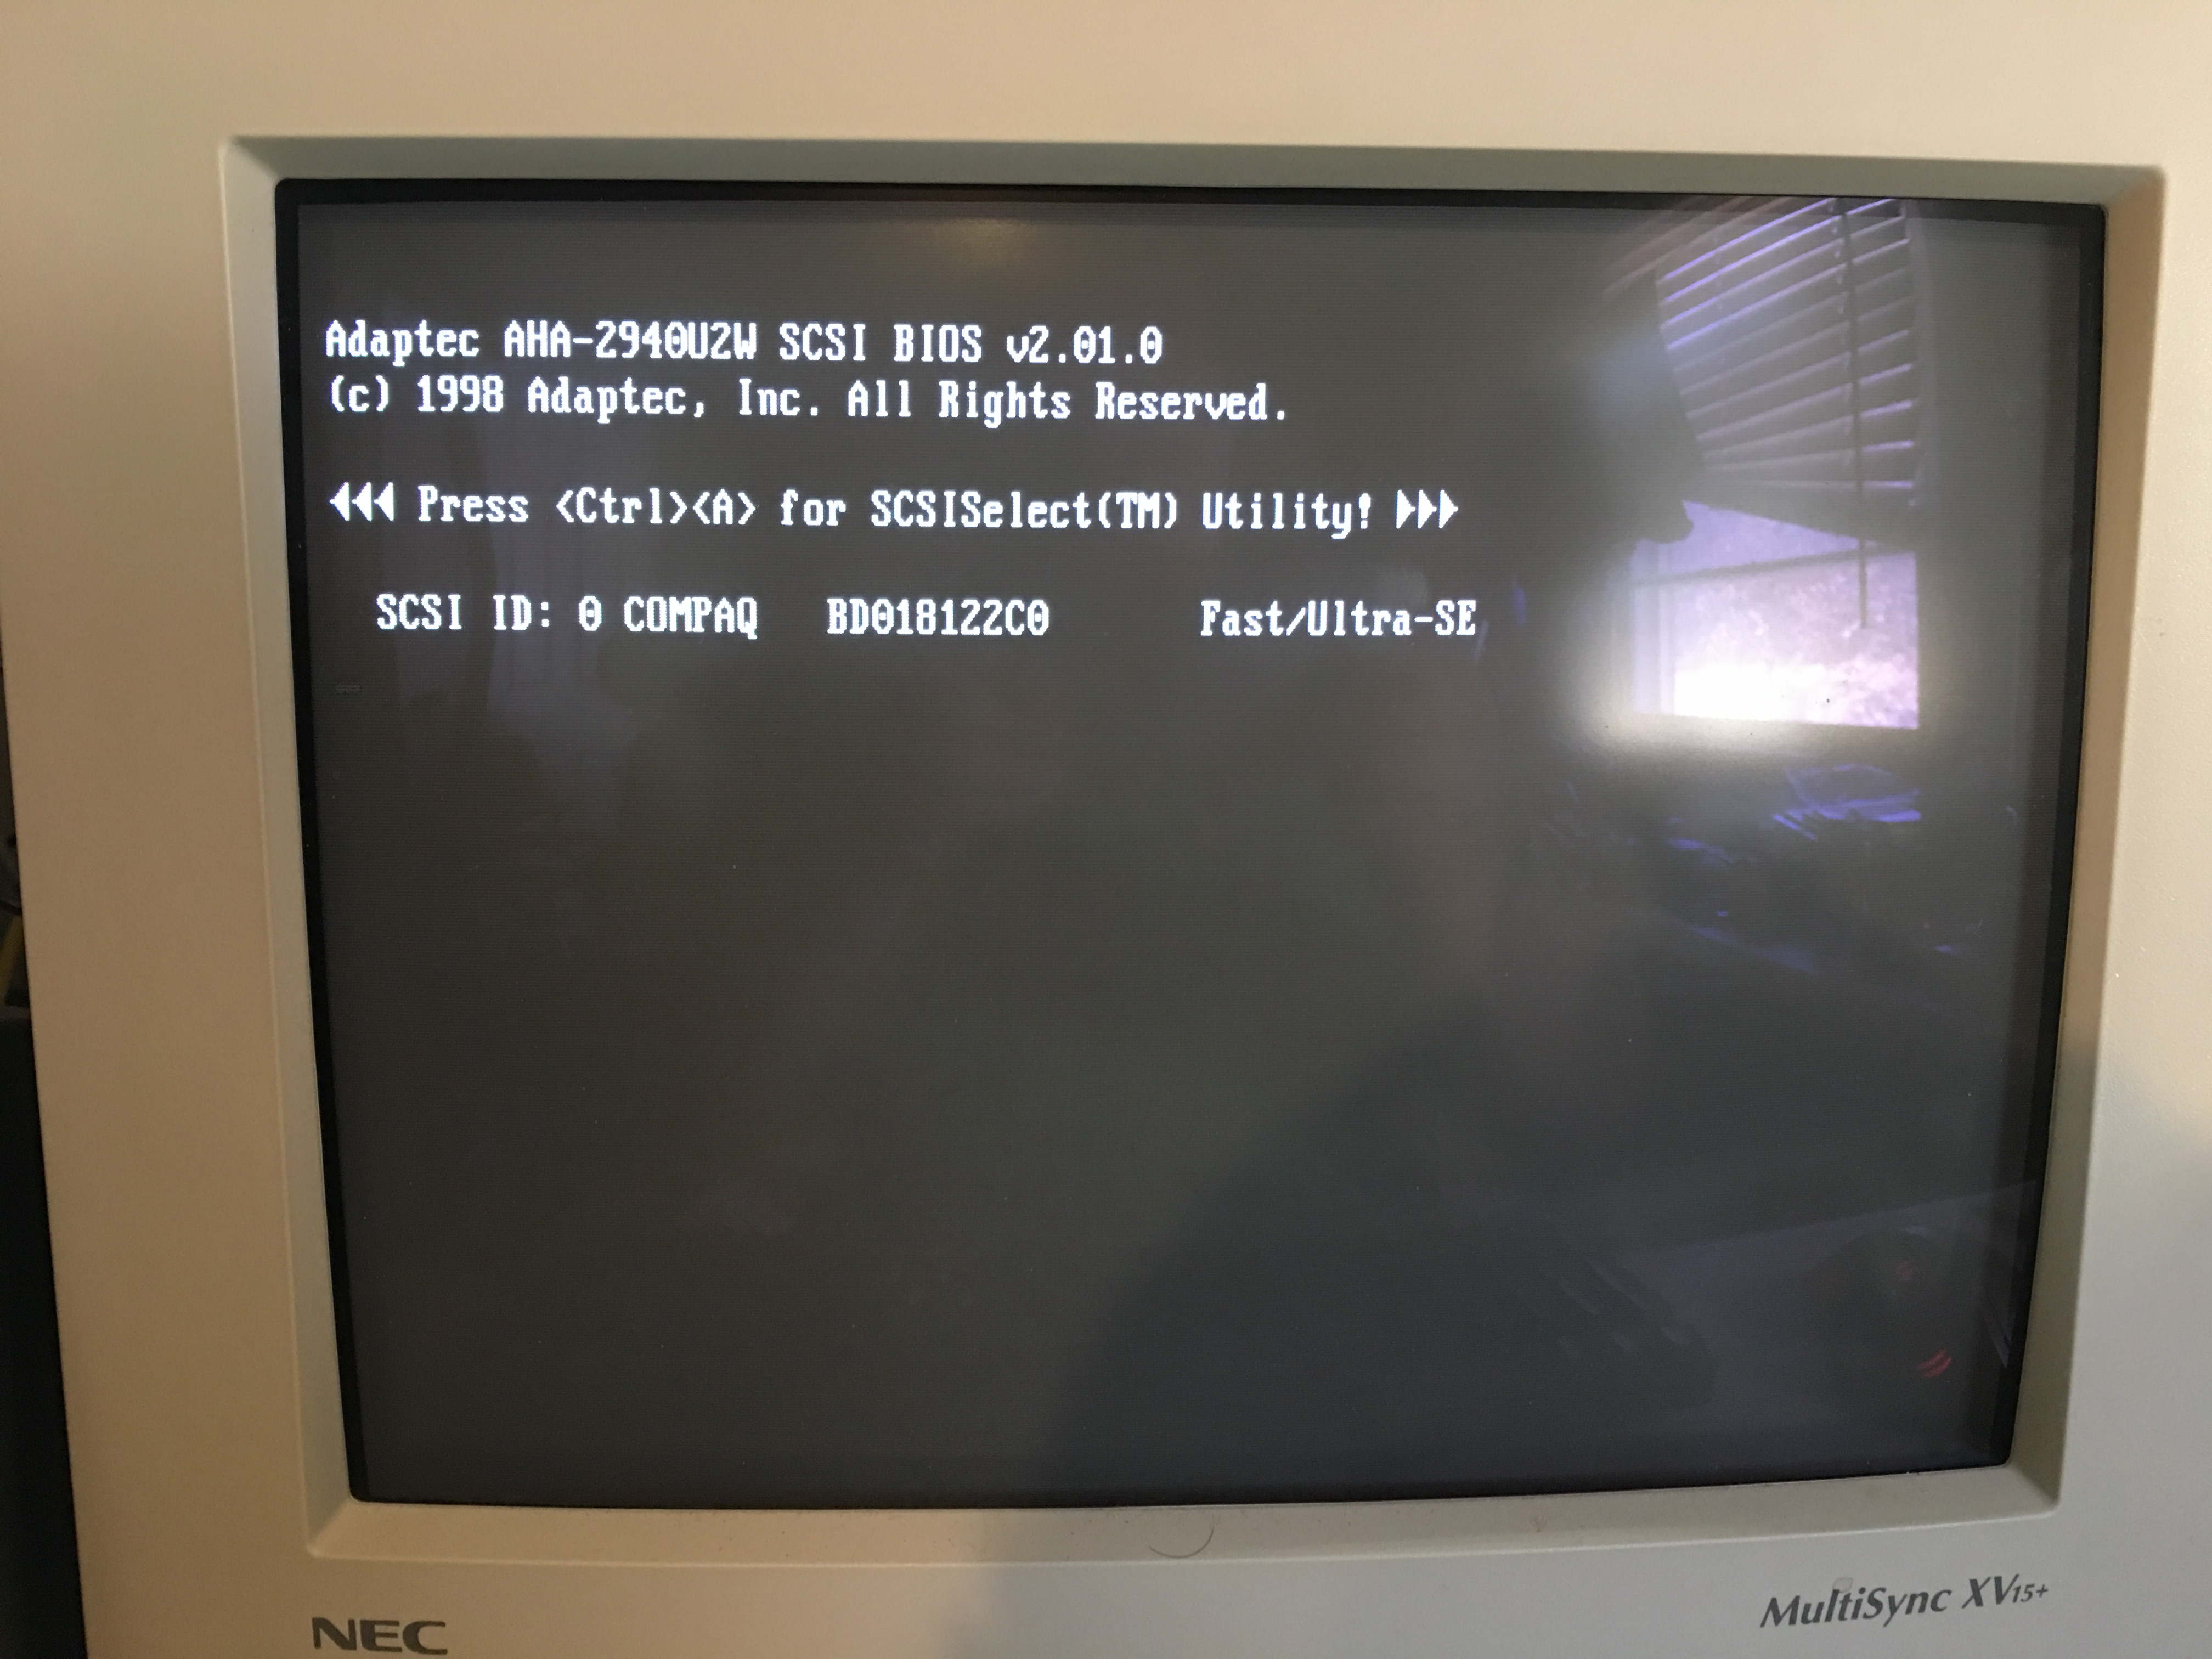
The Windows 98SE boot disk found the SCSI drive just fine. I proceeded to format and reboot to start the install. This is where I encountered another headache. For some reason, the Windows installer was choking out when it tried to load the graphical installer. A few Google searches revealed that this was likely due to using an IDE CD-ROM to install to a SCSI hard drive. So, the workaround was to copy the entire Win98 directory to the hard drive and install from there. Thankfully, this had the added blessing of making the resultant install a bit quicker to perform.
Windows installed without a fuss and before I knew it, I was at a login screen. This meant it was time to install drivers. The main drivers that needed to be loaded were sound and video. Video was quick and easy (perhaps too easy…more on that in a bit). Sound was NOT quick, but it was fairly painless. The Audigy 2 suite is quite slow to load. There’s a lot going on behind the scenes. After a reboot, there’s a peculiarity with the Audigy 2 drivers. I expected this, but it’s important to note nonetheless.
By default, the Audigy 2 loads up WDM drivers. That’s the Windows Driver Model, which was the new standard when XP was released. Win9x machines use VxD drivers. Creative claims that I should have continued to use the WDM drivers if I was primarily using the card for listening to music, but that I should switch to the VxD drivers if I was going to use it for games. Regardless of what they said, the WDM drivers didn’t work at ALL. Thankfully, I was able to go into the Creative Driver Utility and switch to VxD. One more reboot, but afterwards I was greeted with the familiar Windows 98 startup music.
Functionally, the system was complete. However, I wanted to throw a few games on there to test out performance. I didn’t benchmark the system with games: there are probably other sources out there where you can get those numbers. Instead, I wanted to see if I could turn up the options on a few of my favourite titles and still get a playable experience.
My test games were Quake II, Quake III Arena, and Jedi Knight 2. I figured Quake II would be a cakewalk. This, sadly, was not the case. After loading up Quake II and switching to hardware rendering, I began to get all sorts of artifacting. Then, the game crashed. Deciding to double down on a bad idea, I installed Quake III. After switching to hardware rendering, I got more artifacting. No crashes, but the game was unplayable. Same result with JK2.
What gives? It’s quite likely that there was an issue with the drivers. I tried a couple of different revisions, but I didn’t do my homework to figure out what the “best” (ie. most compatible) drivers were. After monkeying about for a little while, I decided to swap out the card and move on. I had a cheap GeForce 2 MX card lying around. It was an OEM AGP card. Nothing special, but it worked. After loading the ForceWare drivers, Quake II/III and JK2 all worked with hardware rendering. Quake II and III ran at a very playable frame rate (72.9fps for Quake II, 56fps for Quake III), even with all the effects turned up. Jedi Knight II needed a few options toned down, most notably anti-aliasing. It also needed to run at a lower resolution. I kind of expected this, as JK2 was a much newer game. However, with a few compromises, it ran very well.
Sound in DOS
I wanted this machine to be dual-use: Windows 9x games and DOS games. The system itself was more than capable of running most of my favourite DOS games (I again have a soft spot for ID). However, the Audigy 2 card is essentially a Windows-only part. Rebooting into DOS, I had no sound and regular SoundBlaster drivers wouldn’t do any good. Enter MPXPlay. This shim is a tool created to allow Audigy cards to work as SoundBlaster compatible. The release I downloaded even had the tool to extend that compatibility layer to my Audigy 2. Score!
I had to add some lines to the config.sys and autoexec.bat files and reboot. Afterwards, I simply selected the “SoundBlaster” option in the DOS games and they ran without issue.
Closing Thoughts
So, was it worth all the trouble? I think so. There were some things that kind of came back to me while I was working through problems. That’s a good thing, mostly because it’s getting harder to find accurate info about troubleshooting problems in DOS/Win98.
Honestly, it’s kind of incredible what we take for granted with PC builds nowadays. This wasn’t the hardest build–there were no jumpers to set or IRQ troubles. But, compared to today’s machines, this was still somewhat frustrating. If you’re the kind of person that enjoys tinkering and problem solving, I would highly recommend giving it a shot. One caveat is that part prices seem to be on the rise. I guess vintage gaming is going to be expensive on PC, too. Still, there are bargains to be had. Overall, the 440BX is still cheaper than a Super Socket 7 system or a working 486DX-66. It’s also an excellent choice for DOS-only systems (courtesy of its ISA ports) or Win9x.
As I’m the kind of person that’s never satisfied, I do intend to make a few upgrades to this system over time. For one, I’ve got some Slot 1 Pentium III processors that I got for a steal. One of them my find a new home here. I’m not done experimenting with video, either. I want to strike a good balance between workability and period accuracy. We’ll see what comes of that.
Did this article inspire you to build a retro PC? Or did it dissuade you from doing so, perhaps favouring the purchase of a pre-built system? Either way, let us know in the comments!
